JVC MENU SERVICE TV CODE
After you get to the item that needs adjusting
Write down the original setting
just in case you have to go back.
1. TV turned on
2. Press the 'Information' and 'Mute' keys at the same time, on the remote.
You are now in the Adjustment mode
4. Use the number keys to select the category.
5. Use the 'Volume up or dwn' to enter the category.
note:Some models may not have Category Selection.
6. Use the 'Channel up or dwn' buttons to select item to be adjusted.
7. Write down the old value of the item before changing.
8. Use Volume up and down adjust the value.
9. When you have made all the adjustments you want press the 'Information' key to exit.
Data sheets are available for most models. These sheets list a description for each
item as well as data range and typical settings for your model. If your setting is
substantially different than the sheet then you may be developing a problem.
RCA/GE Service Menu Adjustments
RCA/GE Service Menu Adjustments
2. Press and hold the 'Menu' button at the tv.
3. Press and release the 'Power' button.
4. Press and release the 'Vol up' button.
5. Release the 'Menu' button.
6. The initial security parameter displayed will be 'zero' Change this to '76'. You are now in the Adjustment mode
7. Use the 'Channel up or down' to select parameter 'P'.
8. Write down the old value of the parameter before changing.
9. Use the 'Volume up or down' to change the parameter value.
10. When you have made all the adjustments you want turn the set off to exit.
collected by; Solderknight
2. Press and hold the 'Menu' button at the tv.
3. Press and release the 'Power' button.
4. Press and release the 'Vol up' button.
5. Release the 'Menu' button.
6. The initial security parameter displayed will be 'zero' Change this to '76'.
8. Write down the old value of the parameter before changing.
9. Use the 'Volume up or down' to change the parameter value.
10. When you have made all the adjustments you want turn the set off to exit.
collected by; Solderknight
ADJUSTING SONY'S TV
SONY TELEVISIONS
Read the _ SERVICE MODE WARNING _ before proceeding.
Service switch - small, round opening in the rear cabinet near the Video inputs or the antenna jack (typically early-90's), push and hold while turning the power on - or if there is no service switch on the rear of the TV use the remote control and press within one second of each other:
[PWR OFF] - [DISP], [5], [VOL+], [PWR ON]
-or-
[PWR OFF] - [DISP], [5], [PWR ON]
-or-
[PWR OFF] - [DISP], [5], [VOL+], [PICTURE], [PWR ON]
The TV will turn on in service mode.
You may need to set the television into 'tuner' mode (instead of Video-1, etc.) before performing the service mode button sequence.
NAVIGATE IN SERVICE MODE
[1] = Moves to Previous Menu Item
[4] = Moves to Next Menu Item
[3] = Adjusts Value Up
[6] = Adjusts Value Down
[MTS] = Toggles Stereo/Mono Audio
SAVE NEW SETTING
[MUTE] followed by [ENTER] to store NEW setting to NVRAM
RESTORE USER SETTINGS
[8],[ENTER] = Restores All *USER* setting to Factory Defaults
RESET VALUES
[0],[ENTER] = Read Default Value from Stored Settings (Reset)
LEAVE SERVICE MODE
[PWR OFF] = Leave Service Mode any settings not written will be in effect until TV is unplugged or a Reset is performed.
RETURN TO DEFAULT SETTINGS:
* BEFORE storing NEW settings - unplug TV from wall, wait a few seconds, then plug back in, turn TV set on - All settings not written will have been lost.
* AFTER storing NEW settings - restore original value from list you made of original values before adjustments and store in NVRAM.
If you're attempting to adjust color or geometry errors, you'll need the Video Essentials DVD, Laser Disc or some other source of test material.
I also maintain a SONY XBR Service Mode list on my HomePage.
For additional information on how to preform the 16x9 squeeze (to view anamorphic DVDs at their full resolution) see the "16x9 (Anamorphic) Vertical Squeeze" or the "Sony Wega 16x9 (Anamorphic) Vertical Squeeze" FAQs that I maintain on my web site.
A complete although somewhat outdated list of Sony XBR Service Mode items can be found at http://www.repairfaq.org/~filipg/. This information appears to be for the ~1990 version of the XBR^2 series.
Note: Provisions for convergence adjustments are not enabled on 27" or smaller Sony direct view television sets.
5.1a SUGGESTED SONY SETTINGS
SONY "XBR" SERIES
TRINITONE: NTSC STD - controls color temperature - basically how greys will appear on the monitor. The "High" and "Medium" settings make everything look too blue.
NR: OFF - filters out high-frequency noise, at a slight loss of detail. Turn it OFF and the picture quality improves. It also tends to degrade fine picture detail.
DYNAMIC PICTURE: OFF - when turned ON it whitens light areas and darkens shadow areas of the picture, creating a high contrast although less accurate picture. Leave it OFF.
COLOR CORRECTION: OFF - when turned ON it tries to correct fleshtones but has a tendency to mix up certain colors and make them look like a prosthetic beige.
PROGRAM PALETTE: MOVIE: ON - only the movie mode allows the television set to run with flat and wide video bandwidth. It also shuts OFF scanning velocity modulation (SVM), when VMLV is run down to zero it will shut OFF SVM for the other modes. Each mode (Movie, Sports, etc.) has a separate adjustment memory.
SERVICE MODE ITEMS:
AXIS 0 Cleans up the red push & oranginess in the yellows
VAPI 0 Do this for all modes
VAPG 0 Do this for all modes
NRLV 0~3 Find the value 0-3 that gives the best resolution
VMLV 0 Scanning Velocity Modulation (SVM) OFF=0/ON=1
(do this for all modes)
Y-DC 0 Improves BLACK background level retention
R-YR 15 Sets the amount of RED
R-YB 15 Sets the amount of RED
G-YR 11 Sets the amount of GREEN
G-YB 9 Sets the amount of GREEN (8 or 10 may be closer)
SHPF 3 This helps with the sharpness (S-Video)
Setting R-YR and R-YB to 15 will greatly improve color accuracy and tone down the reds. Also, when Y-DC is changed from 1 to 0, DC restoration becomes almost perfect.
Sometimes setting items G-YR to 11 and G-YB to 9 may need some more fine tuning using the SMPTE color bars w/gray reference [split bar pattern] ("Color Bar w/75% Gray" VEDVD-18/3, Frame VE-46673, AVS-14415 - NOTE: VE 46673 is mis-calibrated, use AVS-14415) See the section on Setting Tint & Color Level: Matching Gray Reference for the procedure on how to adjust these two settings.
SONY "V" SERIES
GDRV 18 Green Amp.
BDRV 14 Blue Amp.
GCUT 4 Green Cutoff
BCUT 1 Blue Cutoff
Note: The setting for AMP and CUTOFF appear to be relative and not absolute on the "V" series - thus they may not work for your particular model TV.
WEGA SERVICE MODE ITEMS:
4BCT 7 input4 (component) Blue Cutoff (BCUT -1)
4BDR 30 input4 (component) Blue Amp (BDRV +1)
4GCT 5 input4 (component) Green Cutoff (GCUT +0)
4GDR 36 input4 (component) Green Amp ((GDRV +2)
BCUT 10 Blue Cutoff
BDRV 29 Blue Amp
GCUT 10 Green Cutoff
GDRV 34 Green Amp
DPIX 0 Dynamic Picture
Y-DC 0 Improves BLACK background level retention
HOSC 11 Fixes problem with color banding on component input
SONY "MODEL-ID" SETTINGS
These ID setting are different for every chassis - in general here's what they control:
ID-0 Controls number of active video jacks.
ID-1 This controls video features. Allows notch filter
(NOTC) to be turned off outside of service mode.
ID-2 This sets up user interface features. Enables Spanish
language menus. Allows naming of video inputs.
ID-3 Enables / disables Picture-In-Picture (PIP) support.
ID-4 Enables / disables Lumisponder option.
5.1b SONY MODEL NUMBERS
Model numbers:
KV-ddXBRss
KV = direct view sets
KP = projectors
dd = size of the display
XBR, V, S, T = model line designation.
ss = specific model designation, which appears to be independently unique.
5.1c SONY FRONT PROJECTORS
Someday I will have a complete web page devoted to Front Projectors, but until that day here's how to enter service mode on Sony's Front Projectors use:
[enter], [enter], [up], [down], [enter]
Be sure 'Status' is ON, if 'Status' is OFF, you won't be able to get into service mode.
The manual says to make sure the remote is hard-wired, but the IR mode has always worked fine for me.
5.1d SONY PLASMA MONITORS
Turn on the power. Press [Enter], [1], [8], [2], from the remote.
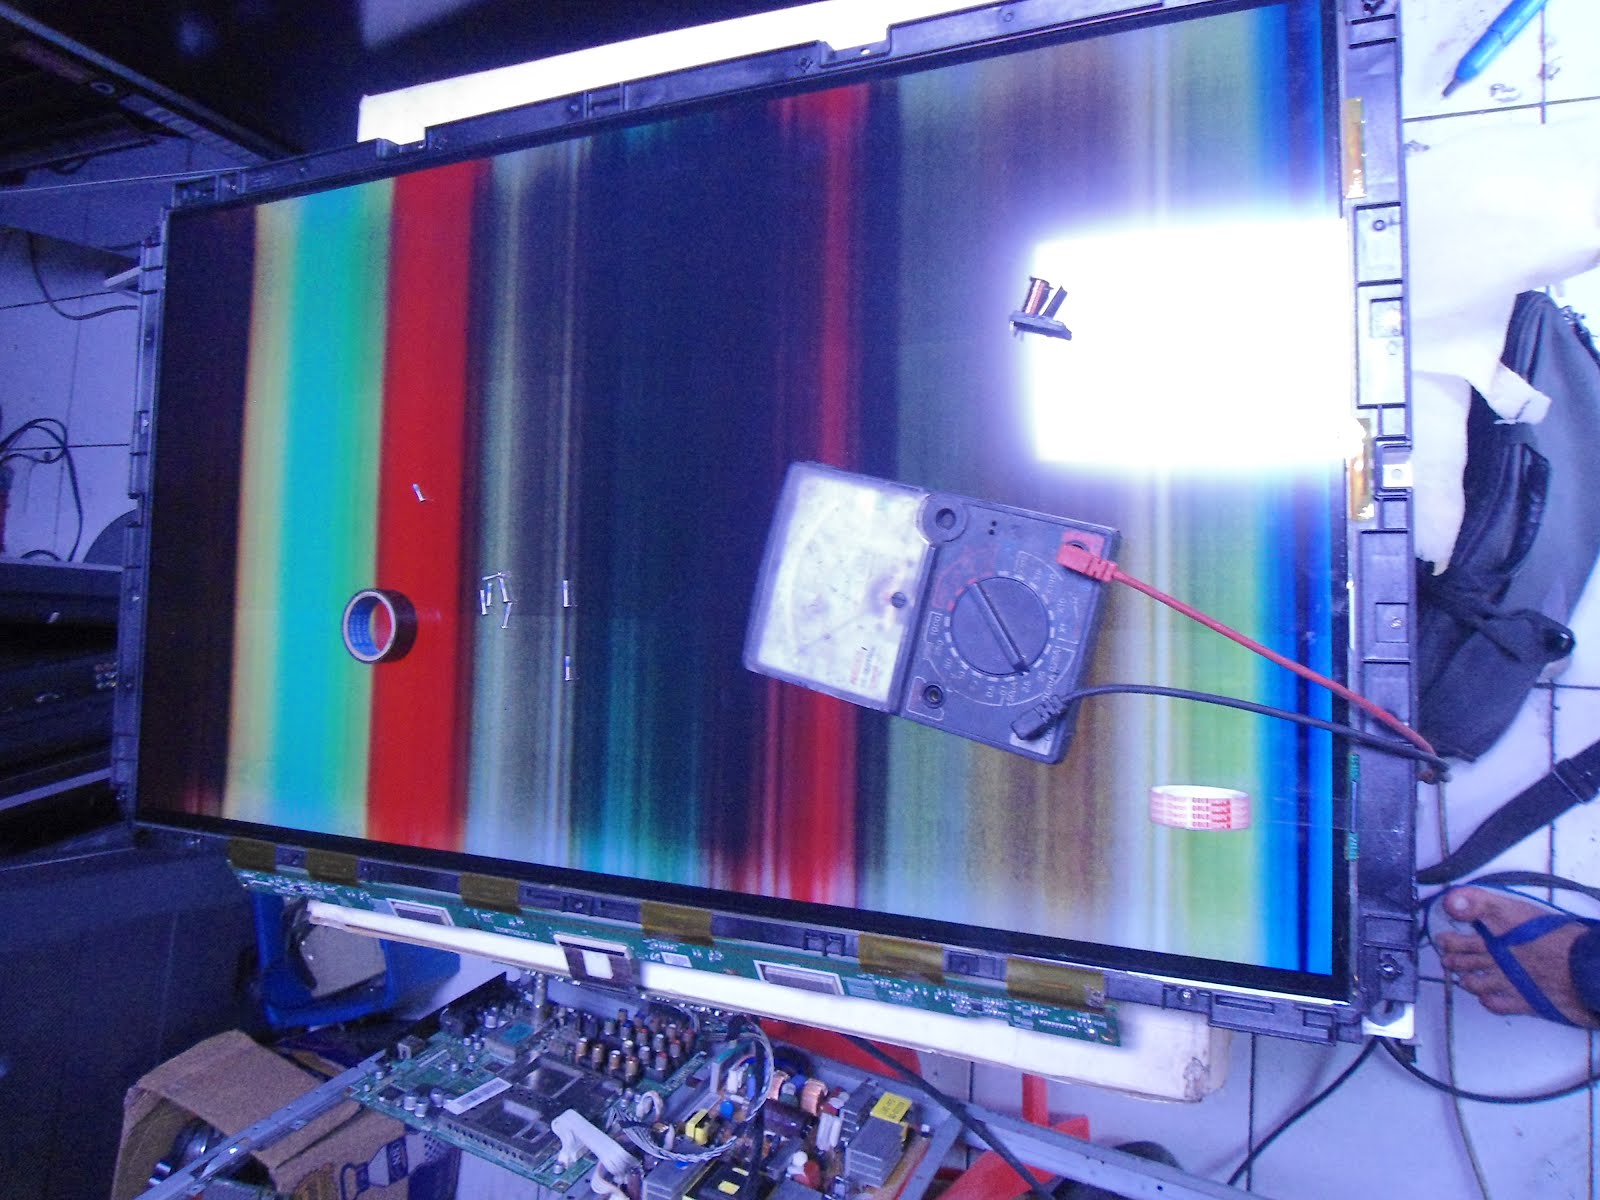
TV MENU SERVICE
MENU SERVICE CODE code is a condition for entry into the "SERVICE MODE". In terms repair television ..there are several ways, including using the code number or alphabet or a combination of both .. way is to use tricks with the hardware at the point right men-short/jumper / or switch you provide the (sharp, panasonic, Thomson, Phillips, etc.).
here I will give you some way / code to open a menu of services from some television general circulation on the plane .. in Indonesia tv output starting from 2000/01 up to now, as most manufacturers only modify feature only.
TOSHIBA: press firstMUTE IN REMOTE,then press MUTE on RC + MENU IN simultaneous TV .. (repeated)
Press Menu-Press DIREMOTE FIGURES 4,7,2,5
Press VOL (-) IN TV-Press and hold FIGURES 9
SANYO: MENU IN REMOTE + VOLUME UP TV
LG Flatron: Press OK, OK DIREMOTE IN TV REMOTE MENU + or MENU IN TV
TCL: press DISPLAY (OSD) DIREMOTE + VOLUME DOWN IN TV, hold 3 seconds
Phillips: POSITION STNDBY TV, press 0,6,2,5,9, MENU
POLYTRON: POSITION STNDBY TV, press and hold MENU IN REMOTE TO TV on FIGURES entries of the code in 1013.
PANASONIC: SHORT (connect right) PIN 'FA-1' TO 'FA-2' OR TP-8 TO GROUND
PANASONIC TX SERIES: Press VOL (-) IN TV + OSD
SHARP: SHORT KAKI (PIN) PIN 6 AND 7 ON shortly MCU IC (TDA 98XXX). SHORT
BACK to exit
SHARP EXPRESSION: Connect the
Jumper J800
HAVE PROVIDED AND TWO jumpers in parallel.
CRYSTAL: POSITION STNDBY TV, press VOLIME VOLUME UP + DOWN ON TV
and hold
AKARI: Press SLEEP IN REMOTE + TV MENU
SAMSUNG: POSITION IN REMOTE Standby press: MENU - PSTD - MUTE - POWER ON
SAMSUNG PLANO: POSITION standby, press IN REMOTE: DISPLAY-MENU-MUTE-POWER ON
PLANO DIGITAL SAMSUNG HD100: Standby-DISPLAY-MENU-MUTE-POWER
OR: Standby-MUTE-1-8-2-POWER ON
.
Sharbysyd, FUJITEC, BOOMBA:
CHINA TV'S AND OTHERWISE USING THE PROGRAM IC TYPE LC8632XX SERIES: Press MENU IN REMOTE twice - RECALL (Q. VIEW) - MUTE.
TV CHINA OTHER (KCl, MITOCHIBA, BAZZOMBA) Press VOLUME IN TO TV NOL.push RECCAL ONCE IN REMOTE, press and hold VOLUME (-) along with the TV press RECALL BACK IN REMOTE .. the process to re-enter the sub menu next exits to the service menu.
AIWA: KEY MENU repairs ADA IN REMOTE FOR THE KEY IN VOLUME (+), loading first.
JVC: Press and hold BERSAMAAN OSD + MUTE
OR Press and hold OSD + PICTURE
HITACHI: Press and hold KEY AVDI TV, turn TV POWER SWITCH
SONY: Standby-OSD - 5 - VOL (-) - POWER ON
RCA / THOMSON: Press and hold KEY IN VT TV + POWER SWITCH ON TV
Some brands CHINA TV also have a menu button on the service in original Remote controller
.